
Deployment used to be the boring, annoying part of my workflow. Not because it was hard, but because it was scattered. Every project lived somewhere else, with its own rules and limits.
I spent more time managing platforms than actually building things.
Coolify was the first tool that removed that friction instead of adding more.
So what is Coolify exactly?
It's an open source tool that lets you deploy apps, websites, and databases on your own server. Think Heroku, but you own everything. No monthly surprises. No vendor lock in. Your server, your data, your rules.
It works with Docker under the hood, but you don't need to know Docker to use it. You just connect your Git repo, click deploy, and it handles the rest.
Coolify is free. The software costs nothing. You only pay for the server it runs on. On my netcup VPS that's about €6 a month for everything.
What you need before you start
Not much, honestly.
| What | Details |
|---|---|
| A VPS | Any provider works. I use netcup. Ubuntu or Debian is fine. |
| 2 vCPUs | Minimum. More is better if you're running a lot of apps. |
| 2GB RAM | Minimum. I'd go with 4GB to be safe. |
| 20GB storage | For Coolify itself. Your apps will need more on top of this. |
| A domain name | You'll want this for SSL and a clean URL. |
That's it. If you already have a VPS running, you're halfway there.
Let's install it
Connect to your server
Open your terminal and SSH into your VPS. Make sure you're logged in as root. If you're not, just run sudo -i and you're good. Coolify needs root to install properly.
Update everything first
Before you do anything, update your server. This takes a minute but it saves you from weird bugs later. Run apt update && apt upgrade -y and wait for it to finish.
The automatic installation script only works with Ubuntu LTS versions (20.04, 22.04, 24.04). If you're using a non-LTS version (e.g., 24.10), please use the Manual Installation method below.
Run the install script
The install script does everything for you. It pulls the Docker images, sets up the containers, configures the ports. You just watch it run.
curl -fsSL https://cdn.coollabs.io/coolify/install.sh | sudo bash
Open your browser
Once the install finishes, it'll show you a URL. Usually something like http://your-server-ip:8000. Open that in your browser and you'll see the Coolify login page.
Congratulations, Your Coolify instance is ready to use.

Please visit http://your-server-ip:8000 to get started.
Create your admin account
First time in, Coolify asks you to create an account. Pick a strong password. This is your main account for everything.
If you want to skip the registration screen and set your username and email during install, you can run this instead and replace the values with your own.
ROOT_USERNAME=yourusername ROOT_USER_EMAIL=you@email.com ROOT_USER_PASSWORD=yourpassword bash -c 'curl -fsSL https://cdn.coollabs.io/coolify/install.sh | bash'
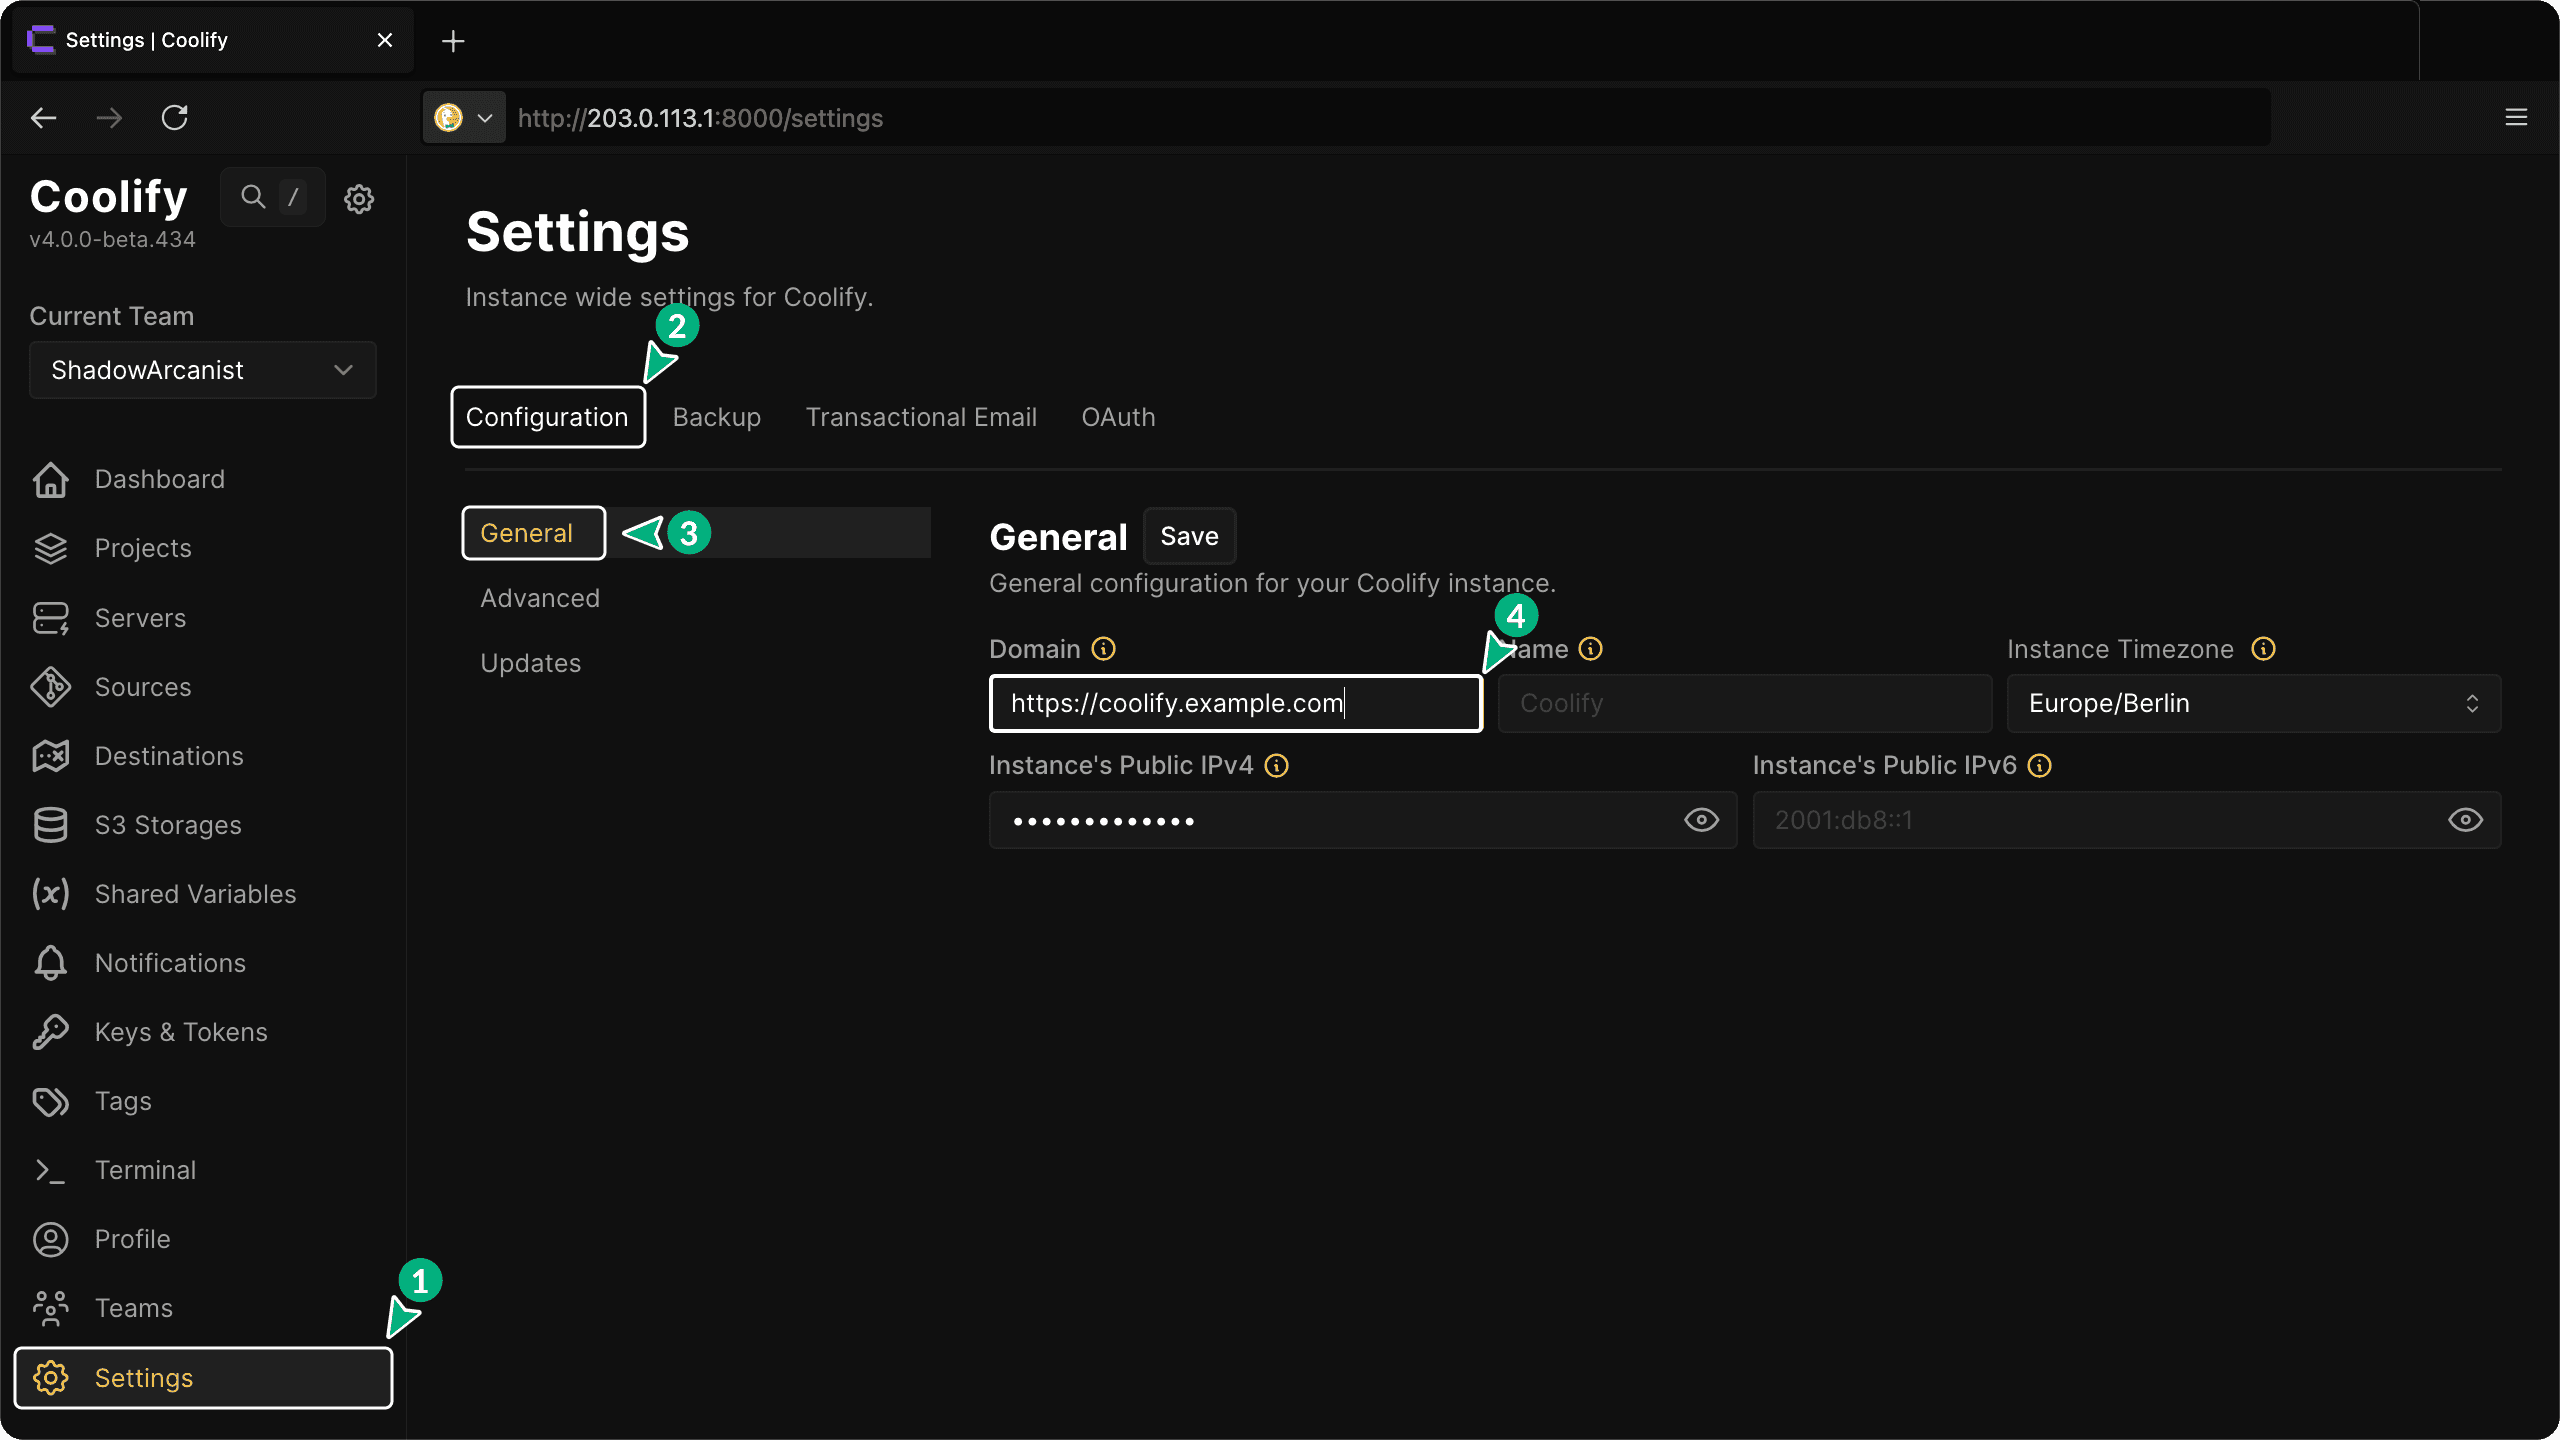
Now set up your domain
Right now Coolify is running on HTTP with just your server IP. That works for testing, but it's not secure. Let's fix that.
Go to your domain settings
Log into wherever you bought your domain. Could be Cloudflare, Namecheap, GoDaddy, doesn't matter. Find the DNS settings.
Add two A records
You need two records pointing to your server IP. The first one is @ which covers your main domain. The second one is * which covers every subdomain. Both point to your VPS IP address.

Tell Coolify about your domain
Go to Settings inside Coolify. Find the Domain field. Type in your domain with https:// at the start. Like this: https://yourdomain.com. The https:// part is important or SSL won't work.
source from Coolify official documentation
Once you save that, Coolify handles SSL by itself. No Let's Encrypt setup. No nginx config. It just works.
DNS changes take a little time to kick in. If your domain doesn't work right away, just wait 2 to 5 minutes and try again.
Lock it down with a firewall
Now that your domain is set up, you should close off the ports you don't need. You only need three ports open.
| Port | What it's for |
|---|---|
| 22 | SSH. You need this to connect to your server. |
| 80 | HTTP. Coolify uses this to redirect to HTTPS. |
| 443 | HTTPS. This is where your apps actually live. |
If you're on Ubuntu, you can set this up with UFW:
sudo ufw allow ssh
sudo ufw allow 80/tcp
sudo ufw allow 443/tcp
sudo ufw enable
After you turn on the firewall, port 8000 will be blocked. That's fine. You'll only access Coolify through your domain from now on.
Always allow port 22 before you enable the firewall. If you lock yourself out, you'll need to reset your server through your VPS provider's console.
Deploy your first app
This is where it gets fun. Go back into your Coolify dashboard and hit the button to create a new app.
Pick your source
Connect your GitHub or GitLab account. Coolify will show you all your repos. Pick the one you want to deploy.
Let Coolify figure it out
It looks at your repo and detects what kind of project it is. Next.js, Laravel, a plain Docker app. It sets up the build settings automatically most of the time.
Hit deploy
That's it. Click deploy and watch it build. Coolify pulls your code, builds it, runs it, and gives you a URL. The whole thing takes about 30 seconds.
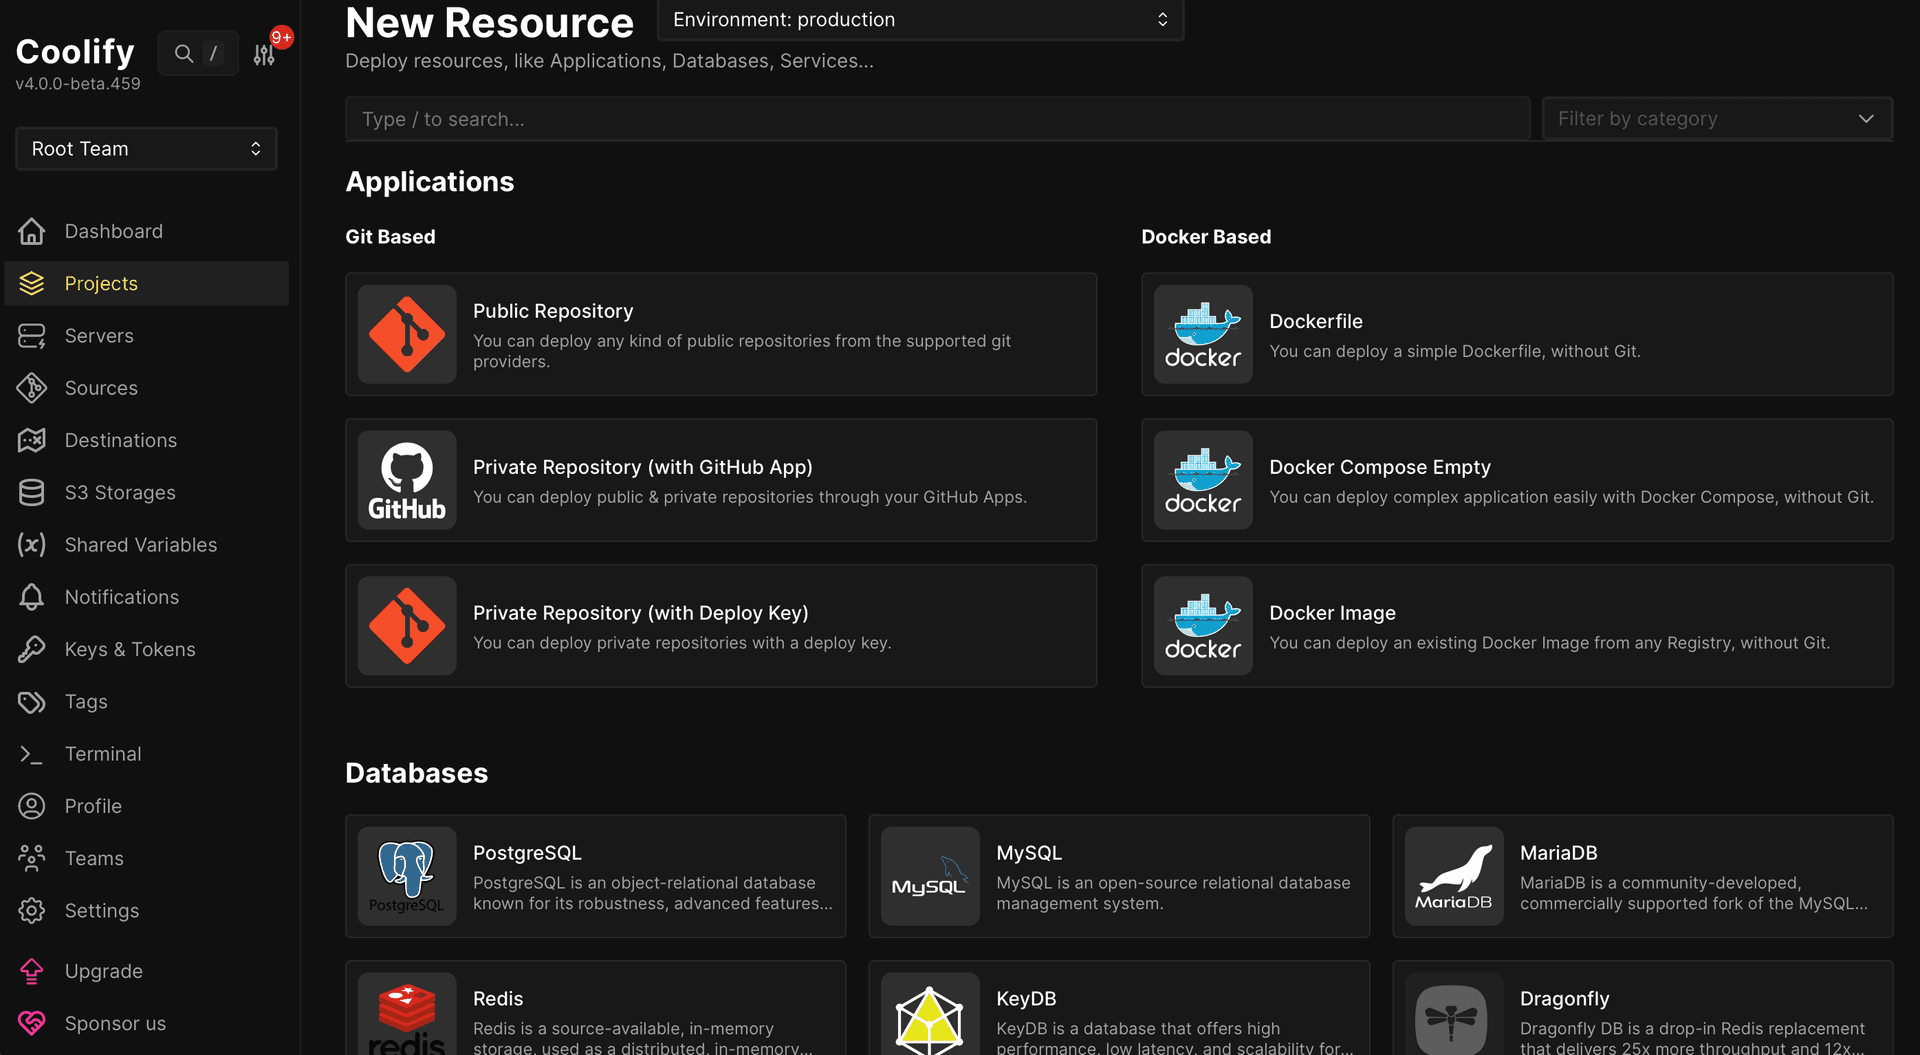
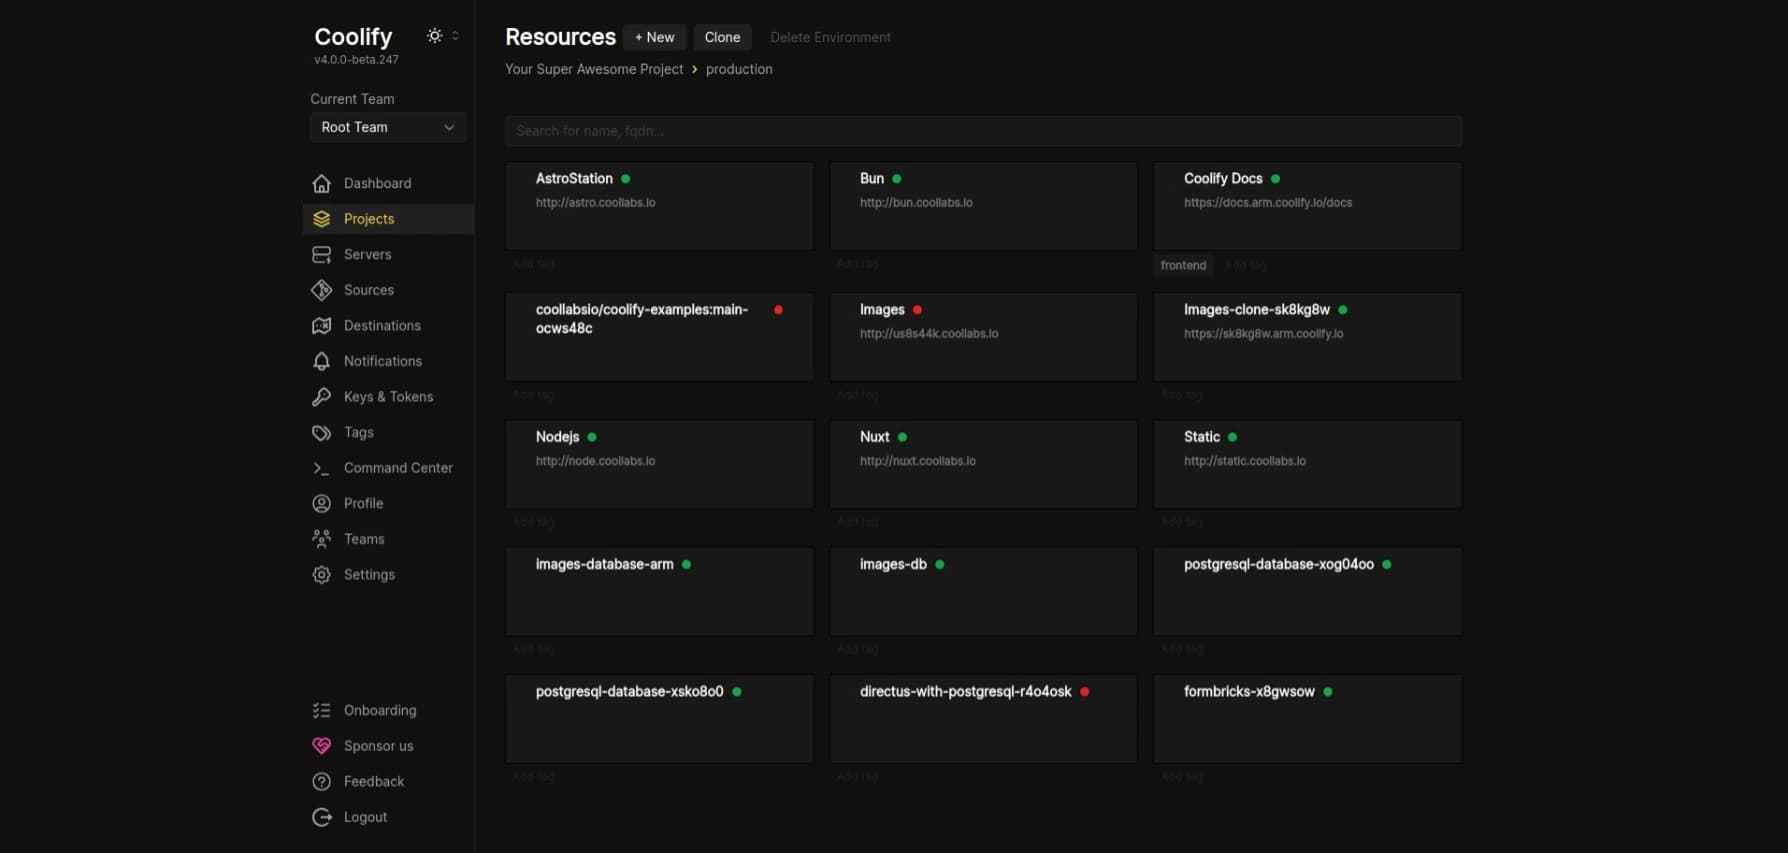
You can also deploy databases straight from the dashboard. PostgreSQL, MySQL, Redis, MongoDB. All with one click. No setup scripts. No config files.
What I actually run on Coolify now
Since I switched, everything lives in one place:
| App | Before Coolify | Now |
|---|---|---|
| Next.js apps | Vercel | Coolify |
| PostgreSQL databases | Supabase (paid) | Coolify |
| Redis | Upstash | Coolify |
| WordPress sites | WP Engine | Coolify |
| Monthly cost | ~$80 | €6 (just the VPS) |
Yeah. That last row is the one that matters.
When things go wrong: Quick diagnostics
Coolify runs on Docker, so when something breaks, you need to check the containers. Most issues come down to three things: containers crashing, disk space running out, or network problems.
Here's how to figure out what's broken.
Check if containers are running
SSH into your server as root (sudo -i) and run this:
docker ps -a --filter "name=coolify"
You should see coolify, coolify-db, coolify-redis, and coolify-realtime all listed as "Up". If any of them say "Restarting" or "Exited", that's your problem.
Check the logs
If a container is down, check what it's complaining about:
docker logs --tail 100 coolify
This shows the last 100 lines. Usually the error is right at the bottom.
Check disk space
This is the most common issue. Run this:
df -h /
Coolify needs at least 30GB total space and 20GB free. If you're running low, the database will crash and nothing will work.
If you see "No space left on device" in the logs, you need to clean up old Docker images and build cache. The commands below will free up space fast.
docker image prune -af
docker container prune -f --filter "label=coolify.managed=true"
docker builder prune -af
Check if port 8000 is listening
If the dashboard won't load, make sure the port is actually open:
ss -tulpn | grep :8000
If this returns nothing, the web interface isn't bound to the port. Restart Coolify with the commands below.
Common problems and fixes
| Problem | What to do |
|---|---|
| Error 500 on dashboard | Usually the database crashed. Run docker restart coolify-db and wait 30 seconds. |
| 502 Bad Gateway | Check if the app container is "unhealthy" in docker ps. Verify the health check path in your app settings. |
| Installation failed | Check /data/coolify/source/installation-YYYYMMDD-HHMMSS.log. Make sure Docker wasn't installed via Snap (not supported). |
Restart everything
If you've tried the above and nothing works, restart all Coolify services:
cd /data/coolify/source
docker compose --env-file .env -f docker-compose.yml -f docker-compose.prod.yml down
docker compose --env-file .env -f docker-compose.yml -f docker-compose.prod.yml up -d
Wait about a minute for everything to start up again.
Custom domain issues
If your custom domain isn't working, check the proxy logs:
docker logs coolify-proxy --tail 50
This will show you SSL certificate errors or reverse proxy problems.
Is there anything I don't like?
Honestly? The docs could be better. Sometimes I had to dig around to find what I needed. And if something breaks, the error messages aren't always helpful.
But the discord community is solid. The GitHub repo is active. And once everything is running, it just sits there and works. I haven't had to touch it in weeks.
If you have a VPS and you're paying for multiple hosting platforms, install Coolify. It'll take you 10 minutes and it might save you a lot of money. Everything in one place: one dashboard, one server, plus automatic server updates, SSL certificates, and reverse proxy.
Check out Coolify
No affiliate links here. Coolify is free and open source. I'm just sharing what works for me. Go check it out for yourself.